How to Brew Beer at Home? It’s Easier Than You Think
“Give a man a beer, and waste an hour. Teach a man how to brew, and waste a lifetime!” – Bill Owen
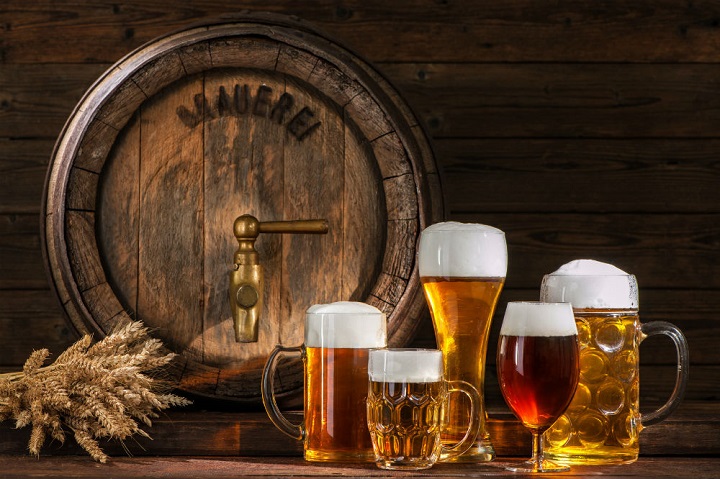
We couldn’t agree more with this quote. Making beer at home provides hours of fun, and the fact that you can get the flavour you always wanted is just a bonus. So, next time you want a cold one, you don’t even need to leave the house for that matter. You can enjoy your game nights at home together with friends and family, or put a few bottles in your stubby holders and take them with you on the beach. With just a little effort, you can master the homebrewing game.
Source: howisbeermade.weebly.com
This rewarding task is almost as old as humanity itself. Although people have been brewing beer for millennia, the basic process has remained pretty much the same through the ages. Because of the simplicity of the process and the wide range of homebrew starter kits available, more and more people are deciding to make beer at home.
What Do You Need to Brew Beer at Home?
To make good-quality and delicious beer at home, you need the right brewing equipment. Assuming you already have a big stockpot at home that you can use, you can easily find basic homebrew starter kits, and choose one with all the essentials included, as well as easy and comprehensive instructions. Here’s what to look for when buying your first beer brewing starter kit.
- Top-fermenting barrel – For starters, a 30-litre fermenter might do the job. Make sure you opt for a screw bottle that comes with a tap, airlock and thermometer.
- Twin-lever bottle capper – Opt for a super quick and easy to use model.
- Crown seals bottle tops – Most of the beer starter kits include 100 of these.
- Hydrometer and test flask that you need for brew fermentation testing.
- Bottling valve that you can use to make bottle filling quick and easy.
- Carbonation drops – These are very helpful to create secondary bottle carbonation.
- Bottle Brush
- Mixing Paddle
- Brew sanitiser and cleaner – These items are essential since you need to completely sanitise anything that comes in contact with your beer after the boiling process.
- Beer bottles – They are usually not included in the homemade beer starter kit, but you can order them separately. You can also use your own bottles if you already have some.
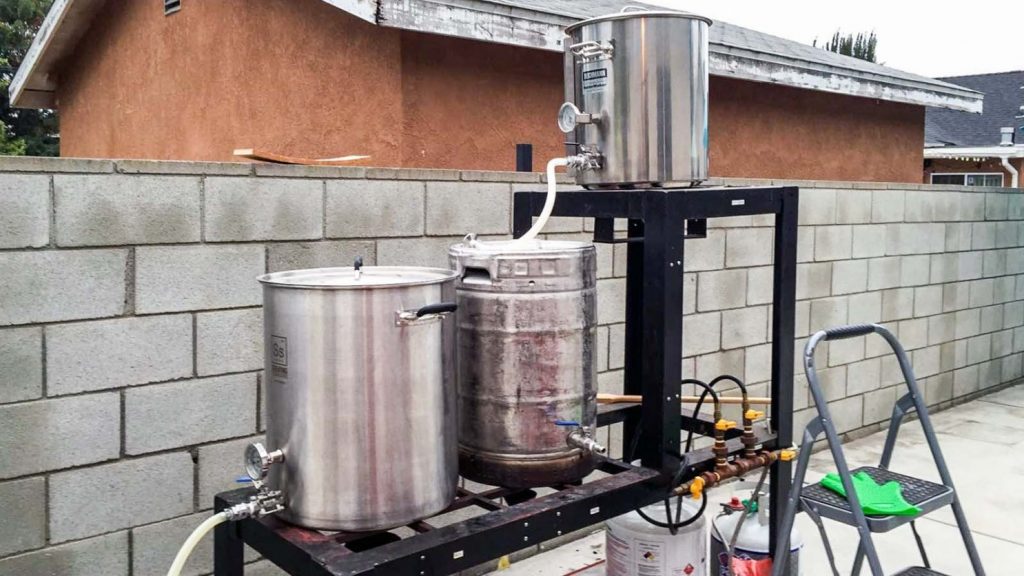
Source: www.latimes.com
Prepare the Ingredients
What makes the beer homebrewing process so easy nowadays is that you can easily find any kind of beer starter kit. Whether you want to make American Pale Ale, Amarillo Golden Ale or Aussie Pub Ddaught, you can easily find ready beer blends with your starter kit. There’re four ingredients in beer: hops, grains (or malt extract), yeast, and water.
Hops are the flowers or the cones of the plant Humulus lupulus. They contain the alpha acids that determine that particular hops’ bitterness. The higher the alpha acid percentage, the more bitterness that hop will contribute to your boil. The hops need to be boiled for at least an hour to release their bitterness.
Grains are used in brewing beer to add flavour, aroma, colour, and body. Malted barley, wheat, corn and rice are the most famous grains used in beer. Using malt extracts is a convenient way of making your beer and can make the process more enjoyable for new brewers. They can be found in liquid or dry form. Which one you use depends on the beer recipe.
In brewing, yeast consumes the malt sugars and produces alcohol and CO2. You can find it in liquid or dry form. Dry yeast has a long shelf life and requires minimal preparation to use. And lastly, beer consists of around 90% water.
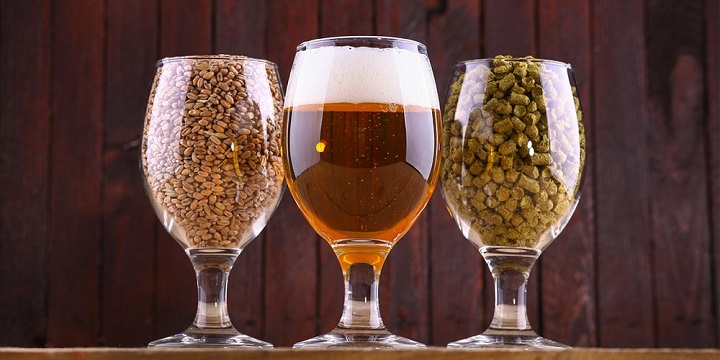
Source: independent.co.uk
Brew
Always read all the instructions before you begin brewing, so you can be sure you have everything you need on hand (equipment, ingredients) and that you fully understand the procedure. Usually, you start by filling the kettle with water and heating it to the right temperature. How much water and which temperature is right you can find in the instructions in your beer brewing kit.
Then, you need to place the grain bag into the water and slowly raise the temperature. After 20 minutes, you need to remove the bag from the pot. You now officially have “wort”- unfermented beer.
The next step is to add the malt extract and stir the wort until the malt extract has completely dissolved. Add the aromatic hops and boil them for five minutes. After one hour boil, you need to cool your wort down to 37⁰ C as soon as possible.
Ferment
The next step is to transfer the cooled wort into your fermenting barrel and top it with enough cold water. You can use your hydrometer to measure the wort’s original gravity (OG). Don’t forget to add your yeast into the wort. During fermentation, the yeast will consume the malt sugars and produce alcohol and CO2. After you’ve pitched the yeast, seal the fermenter tight, attach the sanitised airlock and stopper, and fill the airlock with water. It will take around two weeks for the fermentation to complete.
Source: independent.co.uk/
Bottle
After the fermentation is over, prepare for bottling your beer. Make sure to sanitise the bottles and everything else before use. You can use a calculator to figure out the right amount of sugar to add to each bottle. Fill your bottles directly from the filling valve of your fermenter and seal them with your crown seal bottom tops using the twin-lever bottle capper.
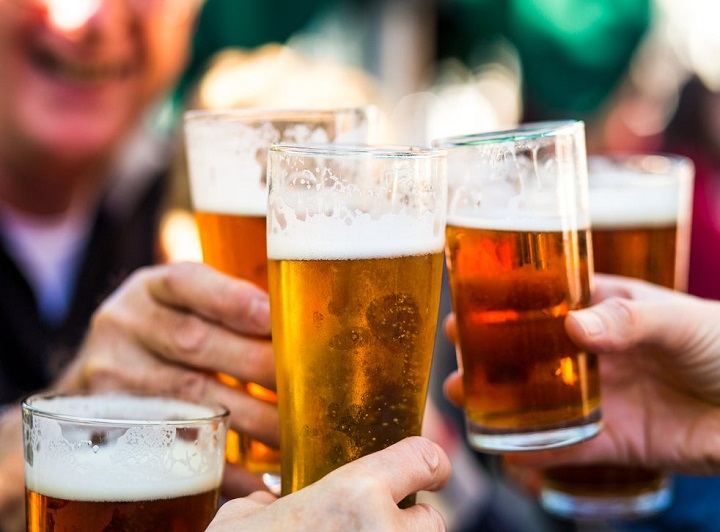
Once your beer is bottled, you need to keep it in some dark place at room temperature for 7 to 14 days. After that, you can chill it to serving temperature and crack one open to enjoy the sweet taste of success.


